Step 1
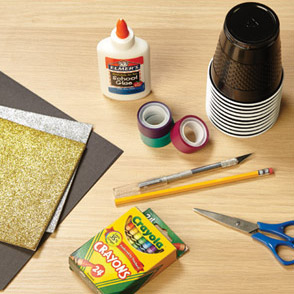
Gather your supplies.
Step 2
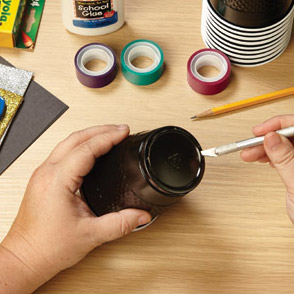
Note to teacher: For students' safety, please do this first step for students. Using the X-Acto® knife, carve out the bottom of the cup.
Step 3
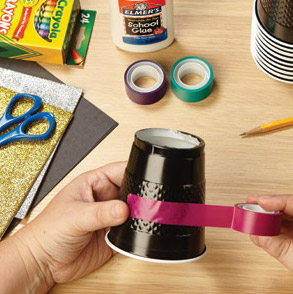
Wrap Washi Tape around the midde of your cup. Be sure it's stuck completely.
Step 4
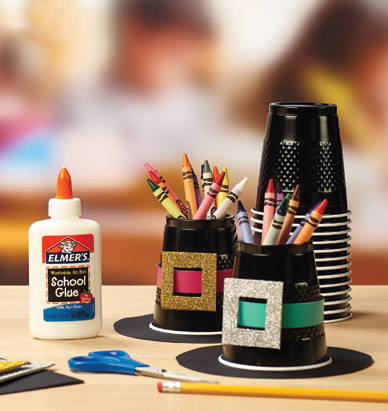
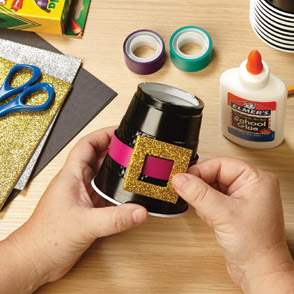
Next, cut out the buckel from glitter foam sheets. To do this, cut a 2" square. Once that is done, cut a smaller square out of the middle. Glue (or tape) to the cup. Be sure the buckle sits centered over the Washi Tape to help make it appear like a real buckle.
Step 5
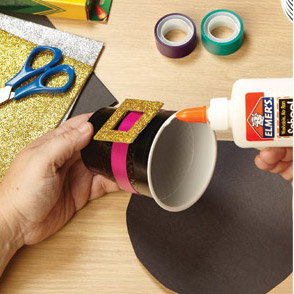
To make the rim of the pilgrim hat, use a circle bigger than the diameter of the cup. (We used a lid from a coffee tin.) With a pencil, trace around the lid onto a piece of black construction paper. Next, cut out the circle and glue it to the brim of the cup. Be sure your cup is centered on the cut construction paper circle. Let dry and your pilgrim hat is ready to use.
Hints & Tips
In place of glitter foarn sheets, you can use felt, glue and glitter for the buckle.
Try using a CD to trace the brim of the hat.
You can use any paper/plastic cup, in any size and place black construction paper over them. If you use a smaller cup, be sure to adjust the buckle size, too.
You can use ribbon in place of the Washi Tape. Students will need to glue or use double-sided tape to stick it to their cup.
Be sure to share your creations on our Facebook page: Facebook.com/Quill
