Step 1
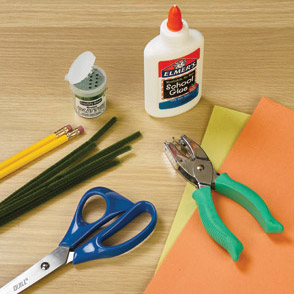
Gather supplies and put on your smock.
Step 2
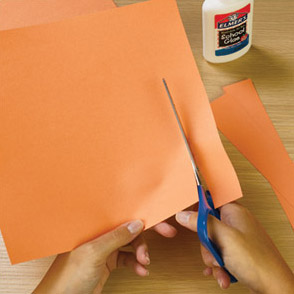
Start by measuring one inch increments down the entire horizontal length of one sheet of construction paper. Cut the strips. The more strips you cut for your pumpkin, the more "full" it will be.
Step 3
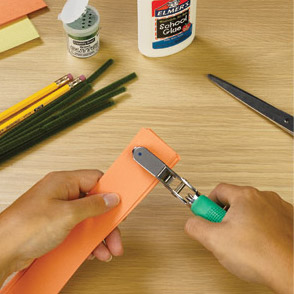
Stack all your paper strips. Using a paper punch, punch a hole centered ½" from each end.
Step 4
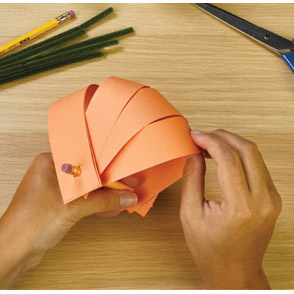
Keeping the paper strips stacked, place the ½ pencil through one set of holes. Next, place the pencil through the second set of holes. Wrap your small piece of pipe cleaner tightly around the end of the pencil to keep the paper strips in place.
Spread the paper strips out around the pencil to form your pumpkin.
Step 5
If you are using a pencil with an eraser, it should be the stem of your pumpkin and placed on top. If you are using a pencil half without an eraser, wrap a small piece of pipe deaner around the top (stem) and a small piece of pipe cleaner around the bottom of the pencil to keep the paper strips in place.
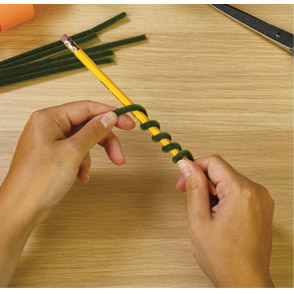
Next, make a vine by wrapping pipe cleaner around a pencil. Attach the vine to the pencil (stem) by wrapping it around the pencil from the middle of the vine.
Step 6
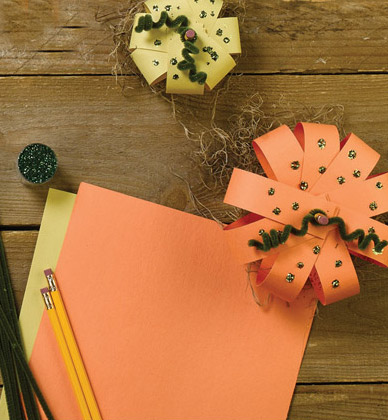
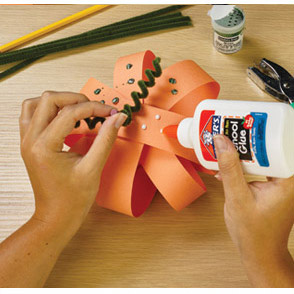
Decorate your pumpkin with glue and glitter. Let the glue and you're done!
Hints & Tips
Stickers or marker drawings can be used in place of glue and glitter if students are younger. Sequins pom-poms can also be used to decorate.
This is a good project for Hdloween, too! Try using wiggly eyes and drawing a face on your purnpkin to make a jack-o-lantern.
Try making multi-colored pumpkins when you use dfferent colored paper on a single pumpkin.
If time is an issue, cut the paper strips for your students ahead of time.
Be sure to share your pumpkin creations on our Facebook page: Facebook.com/Quill
