Step 1
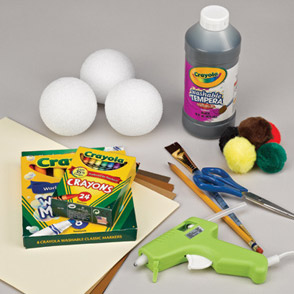
Assemble your supplies. Press the styrofoam ball slightly against the top of a desk to make a flat spot. This will help students know where to glue the feet and will help the turkey to stand upright.
Step 2
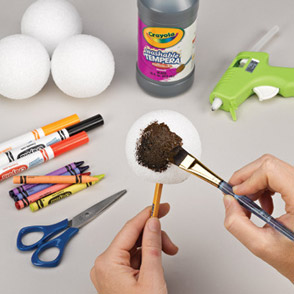
Paint the entire ball brown. Let the paint dry completely. Place the ball on the table, flat spot down.
Step 3
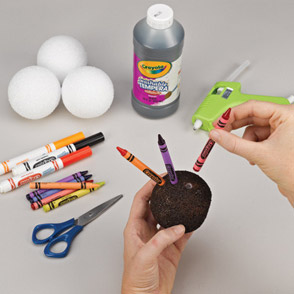
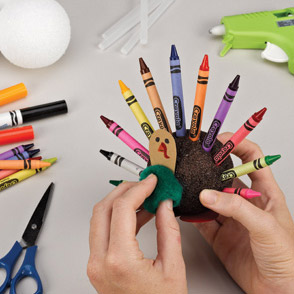
Using a #2 pencil, poke holes evenly spaced across the top of the ball. Once holes are made, insert crayons.
Step 4
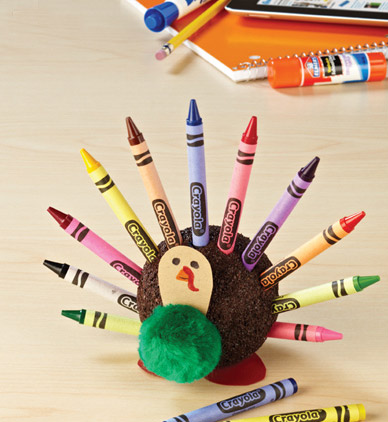
To make the feet, cut a 2" heart shape out of red or orange construction paper. Glue to the flat spot on the bottom of the ball with heart bumps facing out. Next, cut any color construction paper into a 2" tear drop shape for the turkey head. With round part facing up, draw the eyes, beak and wattle. Glue to front of styrofoam ball. Next, glue the pom pom to the turkey.
Hints & Tips
Use a #2 pencil to paint. Poke it into the flat spot on the foam ball and use as a hande. It will be easier to paint all the way around the ball and it will be a lot less messy, too!
When making the crayon "feather" holes, start at the top/center.
The number of "feathers" you add can be adjusted depending on the amount of supplies available.
Use a small amount of glue in each "feather" hole to keep crayons in place.
Try using quill feathers, painted craft sticks, wooden doll pins or pipe cleaners as feathers instead of crayons.
Wiggle eyes or pony beads can be used in place of drawing the turkey eyes.
